This approach has now been found a point of malpractice Kazakhstan,Configure the root cause will resolve the transponder failure,That can not be forwarded up the DNS =。=
This tutorial is in line with "About Installing vCenter environment in a non-domain controller solution"This article is written,Hosts file is actually an easier way is to modify the system's native parsing can be added directly,However, this does not seem to do the reverse analysis? Here I am not sure because I do not have such tests,All right,We honestly to add a dns now!
First, find the Server Manager,Then add the following figure role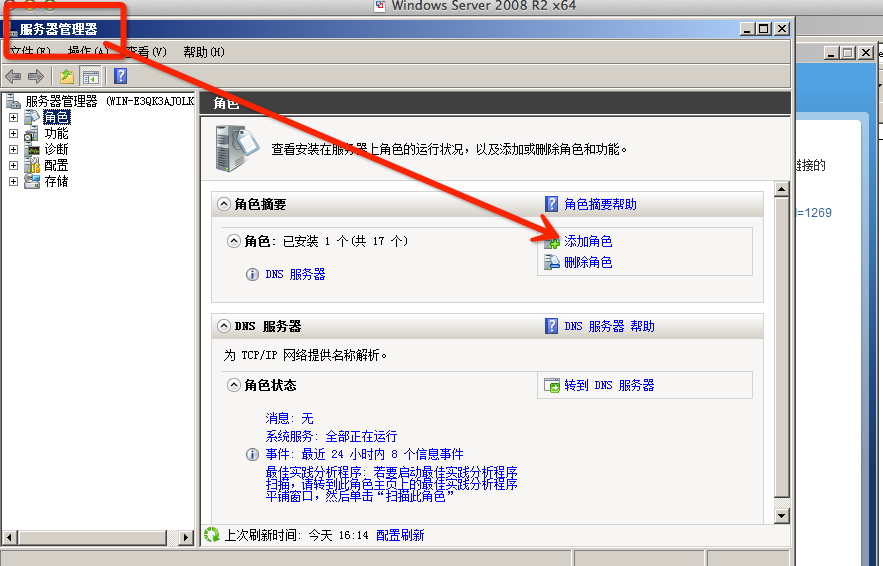
Then click Next, choose the role you want to add
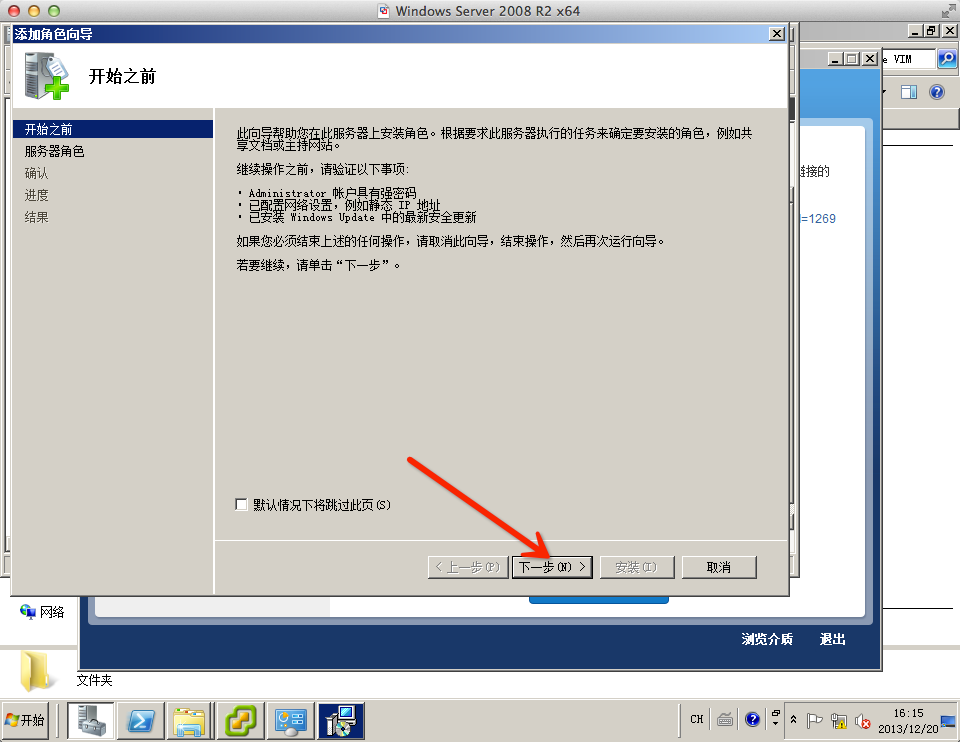 This time check DNS,Then click Next,As shown below,Of course, I had this already installed Oh,So back it can not be demonstrated,It has nothing to say,Next next installation or the like,By default on the line,Add a role in it。
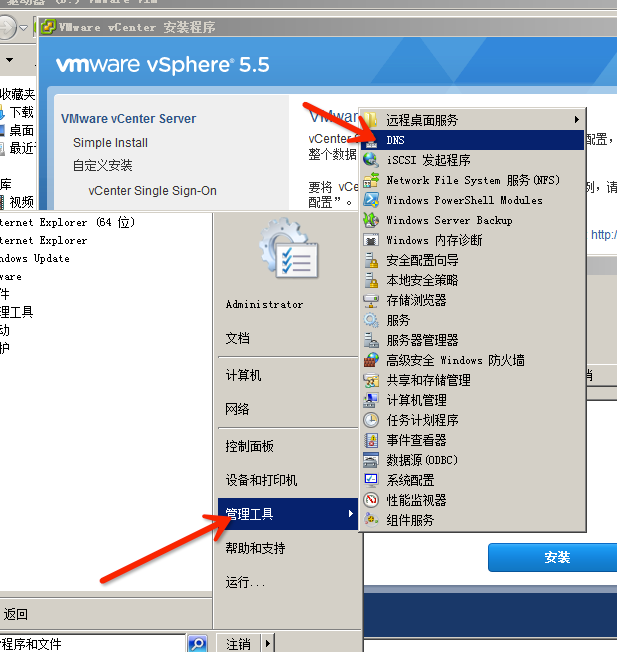
After adding a good role,We find the DNS Manager from the Administrative Tools in the Start menu,Click to open,As shown below
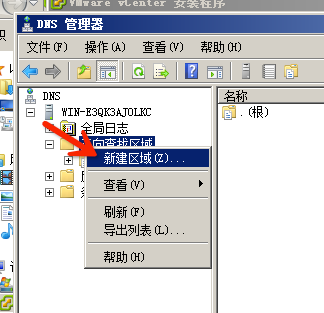
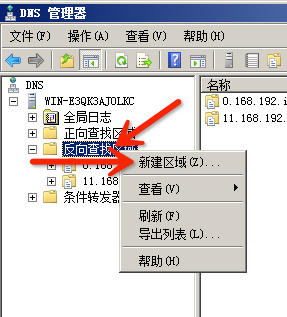
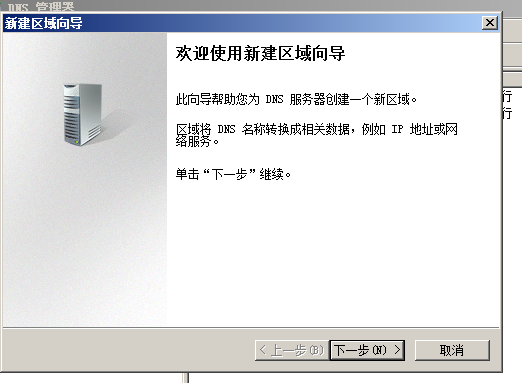
 This time to find your host in Manager and find the "reverse lookup zone",Click on the Right,Select "New Zone";To open the "New Reverse Lookup Zone Wizard"。
 Click Next to proceed to configure
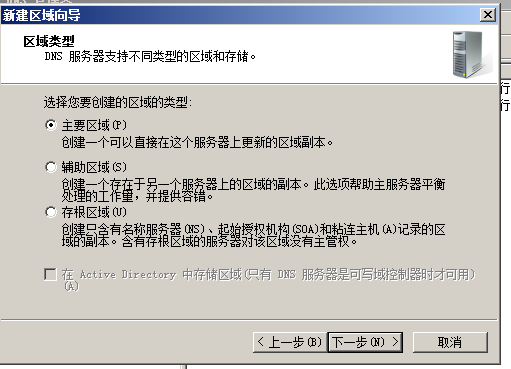
 Here keep the default (main areas) to,Proceed
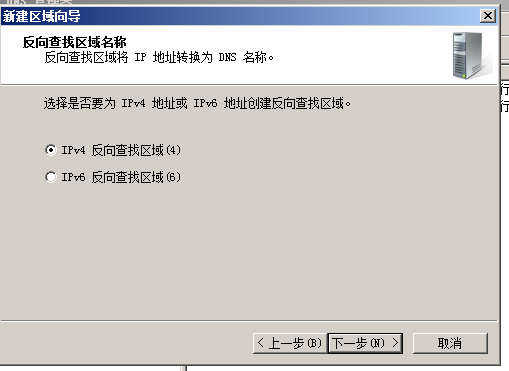
Select the IPv4 lookup zone,Then the next step
You have to fill in a reverse lookup segment in the network ID,It is important here,Be sure to fill in your card to set a good network segment Ha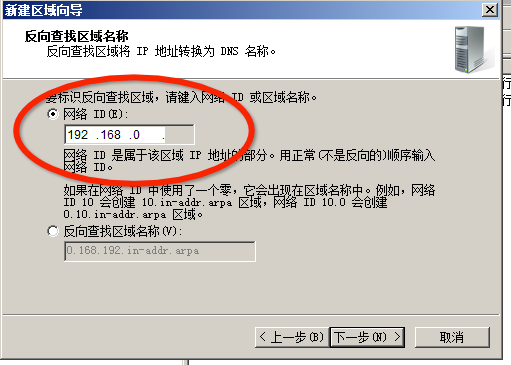
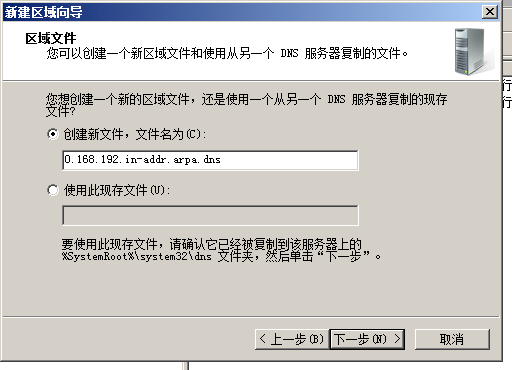
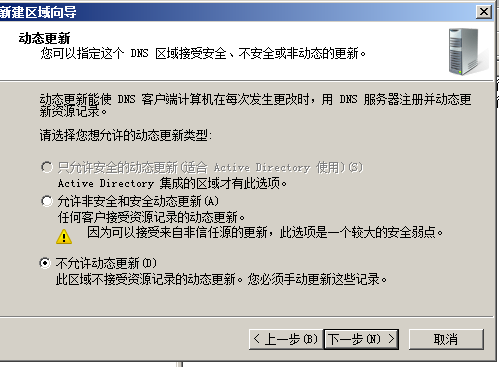
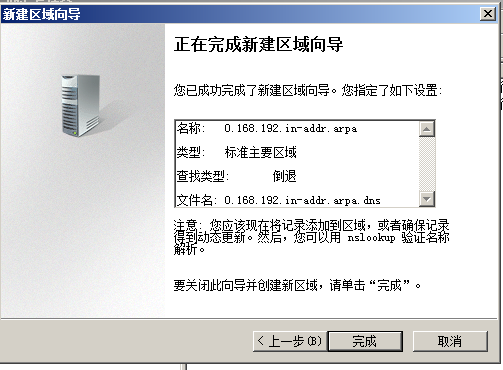
Then you just fine default,Click Next until completion,As shown in FIG behind,All you can select the default configuration。
Click Finish after,Reverse lookup zone has been created。Next, let us resolve to create a root
As shown below,Again, right-click on the "Forward Lookup Zones",New Zone
The next step is then the next step is the default,Until the time "area name" this page,To write the following diagram mode,English is only a fill of [point],That is,………← this point
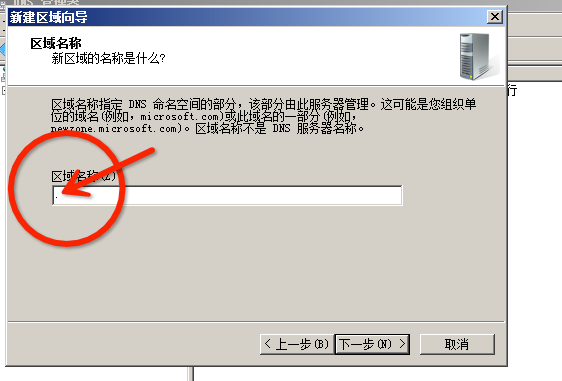 Such,Continue to click Next until it is completed。After parsing the region have created,Since we can resolve a host of add up。
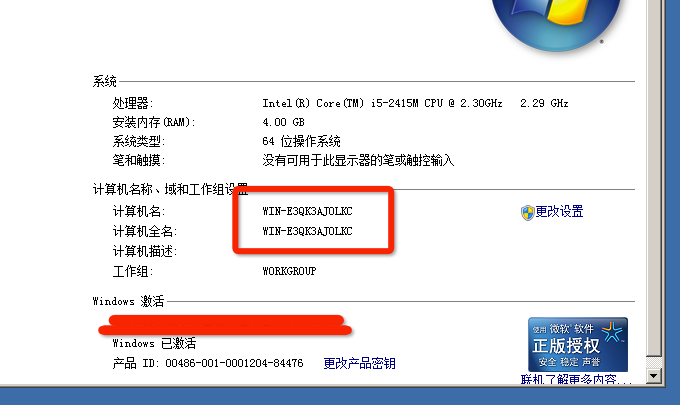
First, right-click on My Computer,Select Properties,Find the full name of your computer,For example, my name is shown in the figure below
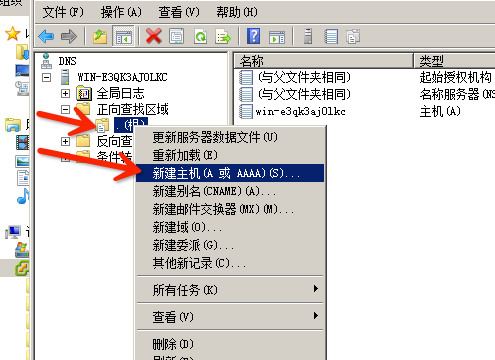
Write down the name after we returned DNS Manager,Right-click to create a good root zone select "New Host"
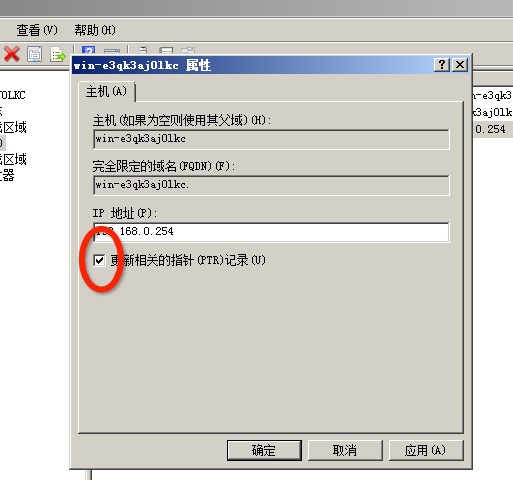
 Then the hosts, put your name written into the host,IP Office IP fill in your native,Finally, remember to check the "Add pointer" and click OK,Root resolve the FQDN of the machine will add such good:)
 By convention it,We use nslookup to verify
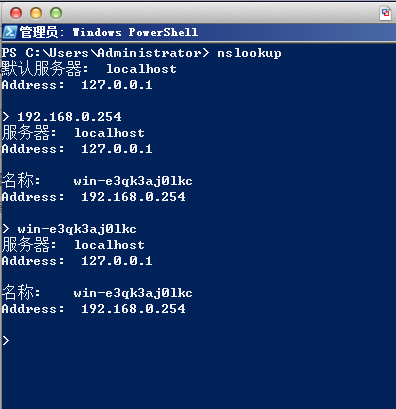 Such,Whether it is the domain name or IP domain name to IP can be smooth,in this way,The task is complete!
Original article written by LogStudio:R0uter's Blog » Configure DNS to resolve the unit root on a Windows Server
Reproduced Please keep the source and description link:https://www.logcg.com/archives/307.html
